
So what do you do when your half-plate camera is broken but you just bought a full darkroom set up and you don’t want to wait? You make photograms! But what if you don’t have an enlarger to make exposures? Good news, it’s still possible to create awesome photograms using a ceiling light, here’s how I did it.
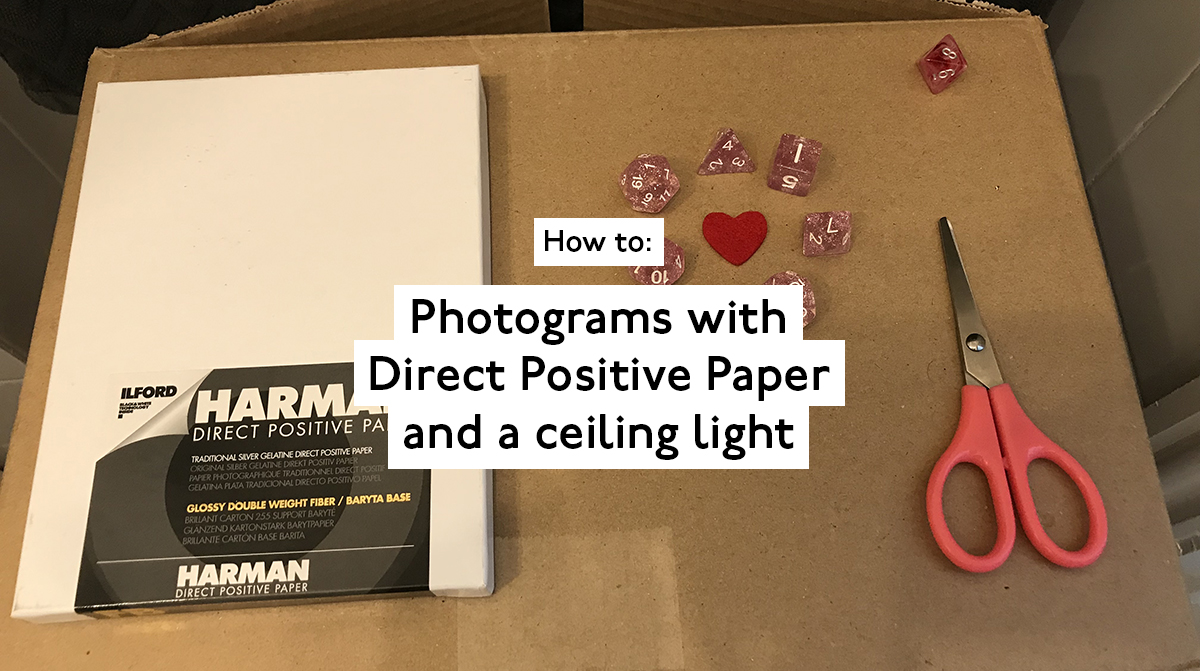
What you need:
- Bathroom darkroom with safe light (read about how I set up a temporary darkroom here)
- Something to monitor chemical processing time (eg. wristwatch with glow in the dark markings)
- Harman Direct Positive Paper
- Scissors (to cut test strips)
- Paper processing chemicals (as per Ilford – Multigrade developer, Ilfostop and Rapid Fixer)
- Object to ‘photograph’
Firstly, mix up your chemicals (I followed the Harman Direct Positive Paper datasheet here for dilutions) and set up the tray processing area. Once chemicals are in their respective trays grab your glow in the dark watch and turn out the lights. Note: make sure you know your dev, stop and fix times or have a cheat sheet on hand! I followed the recommended times on Ilford’s datasheet.
Now, it was at this point that I felt a bit lost. I didn’t have an enlarger to make specific exposure times, I didn’t own a torch or a lamp to bring into the darkroom and I didn’t want to attempt to use my phone torch or screen light. All I had to work with was the 3 bulb ceiling light with its twee british pull string switch. After cutting out a test strip under the safe light, I used the closed paper box to cover the strip and turned on the ceiling light. I then made approximately 5 one-second incremental exposures on the strip and turned out the light.
Long story short, after 1.5 minutes in the developer I could see the strip was totally white – I’d used way too much light. Onto the next strip.
This time I placed a tiny salt packet onto the photo paper and instead of attempting to count time, I just flashed the ceiling light on and off again. About 30 seconds into the dev time and a faint print began to appear. The on/off technique had worked!

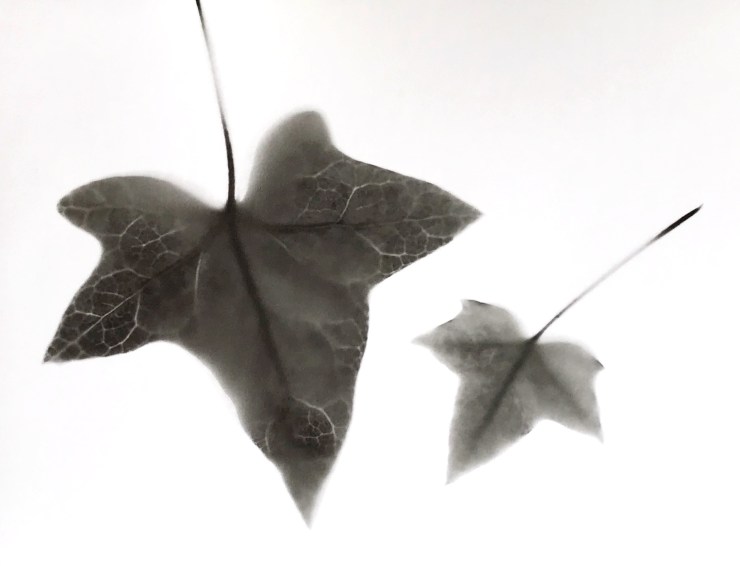
And that was it, from there I made a few more test prints with different objects, my favourites being the dice and the leaves below. I am currently in the midst of setting up a darkroom in my apartment here in Brisbane and I’m looking forward to creating more photograms once the room is complete.

Have you ever made photograms? What objects should I use next time? Let me know in the comments below.
Thanks for reading!

One thought on “No Enlarger? No worries: How to make photograms with Harman Direct Positive Paper and a regular ceiling light.”