

The first lockdown in the UK last year was tough. My husband and I were half a world away from our families and friends and we were stuck in our rental flat working full time. We were meant to visit Amsterdam in March, my parents were due to arrive in the UK from Australia in April and to make the lockdown even more depressing we had annual leave booked and still had to use it.
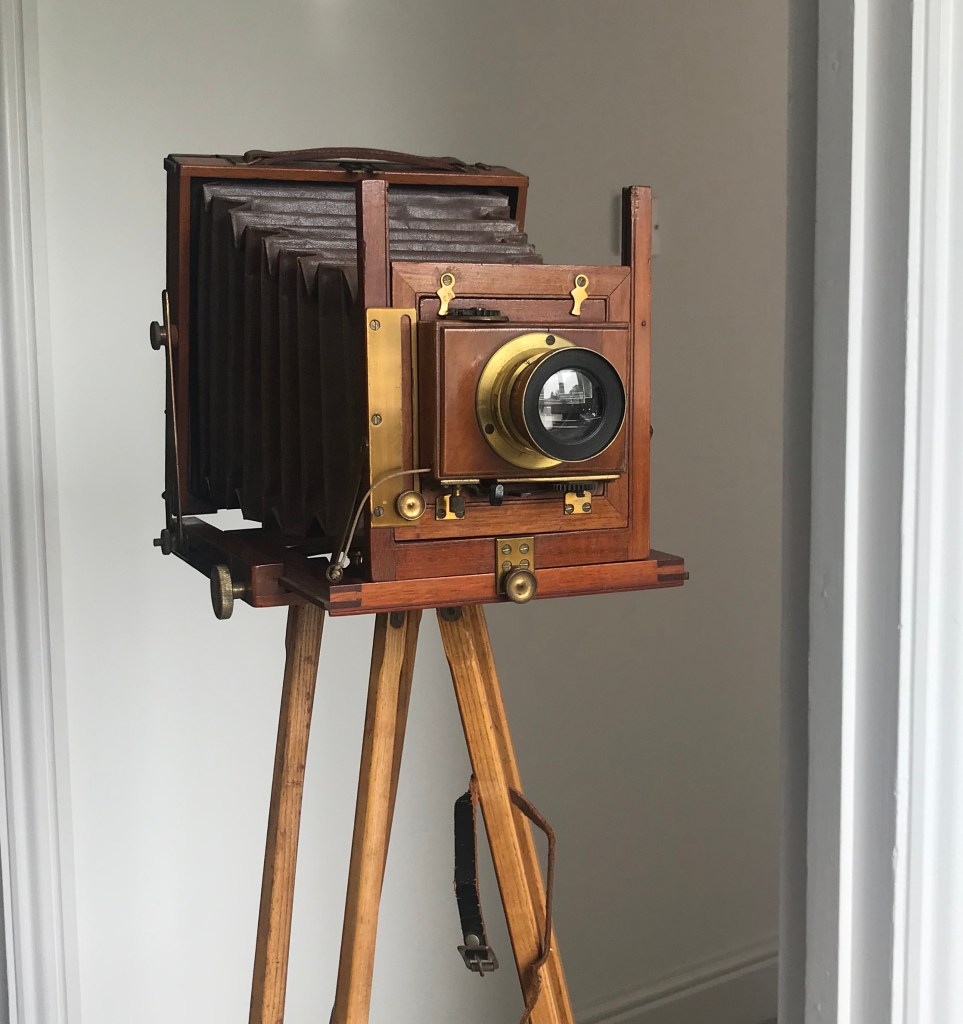
I decided it was time to attempt setting up a darkroom (along with everyone else in Britain apparently). I had been reading about using Harman Direct Positive Paper in lieu of film or plates and decided it was going to be the cheapest and simplest way to test my new half plate camera. Since my aim for the darkroom was solely for processing photographic paper, no film processing equipment and no enlargers were required (phew).
Actually, it was surprisingly simple so I wanted to share how I did it.
How to set up a non-permanent darkroom
What you need:
- A small room without windows (Tiny ensuite the size of a bathroom stall)
- Watch with luminescent dial (Any brand will do)
- Something to block light entering at door frame (I used a duvet and dark coloured duvet cover)
- Someone to hold light blocking material over the outside of the door (I used my husband – you could also use a sibling, flatmate, friend or lover)
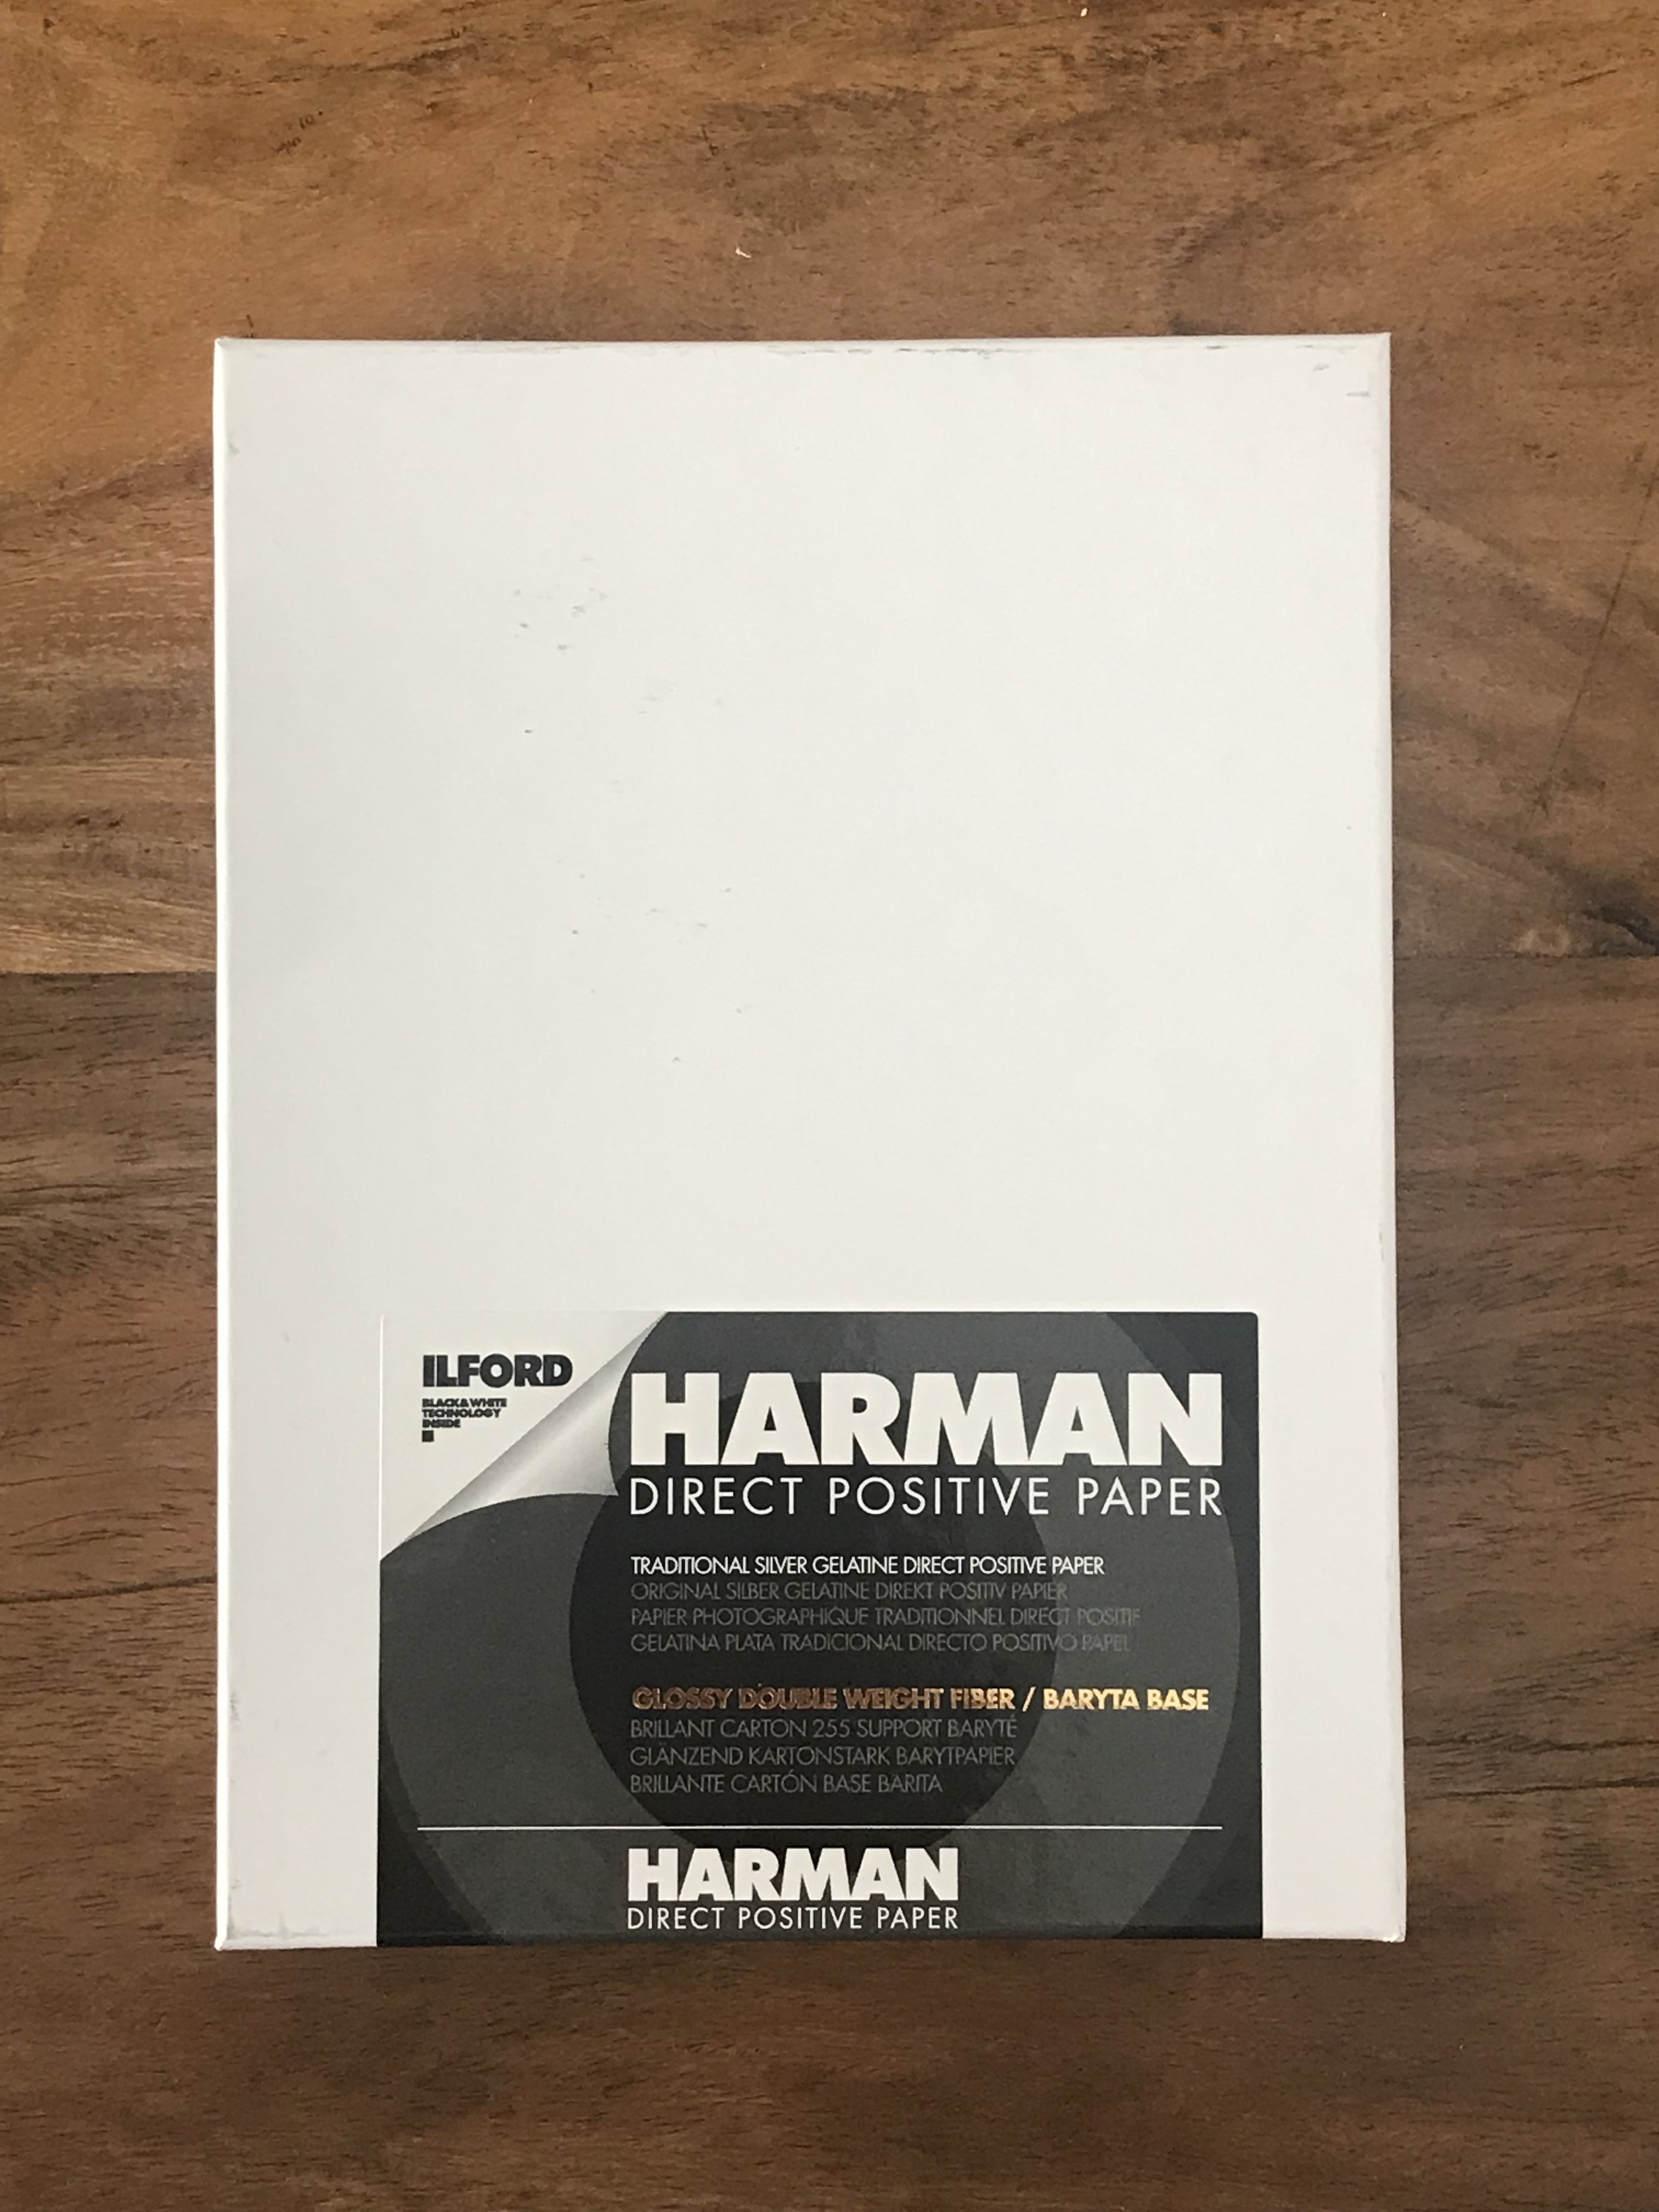
- Photographic paper (Harman Direct Positive Paper)
- Safe light (RH Designs B&W Safe Torch – more on this later)
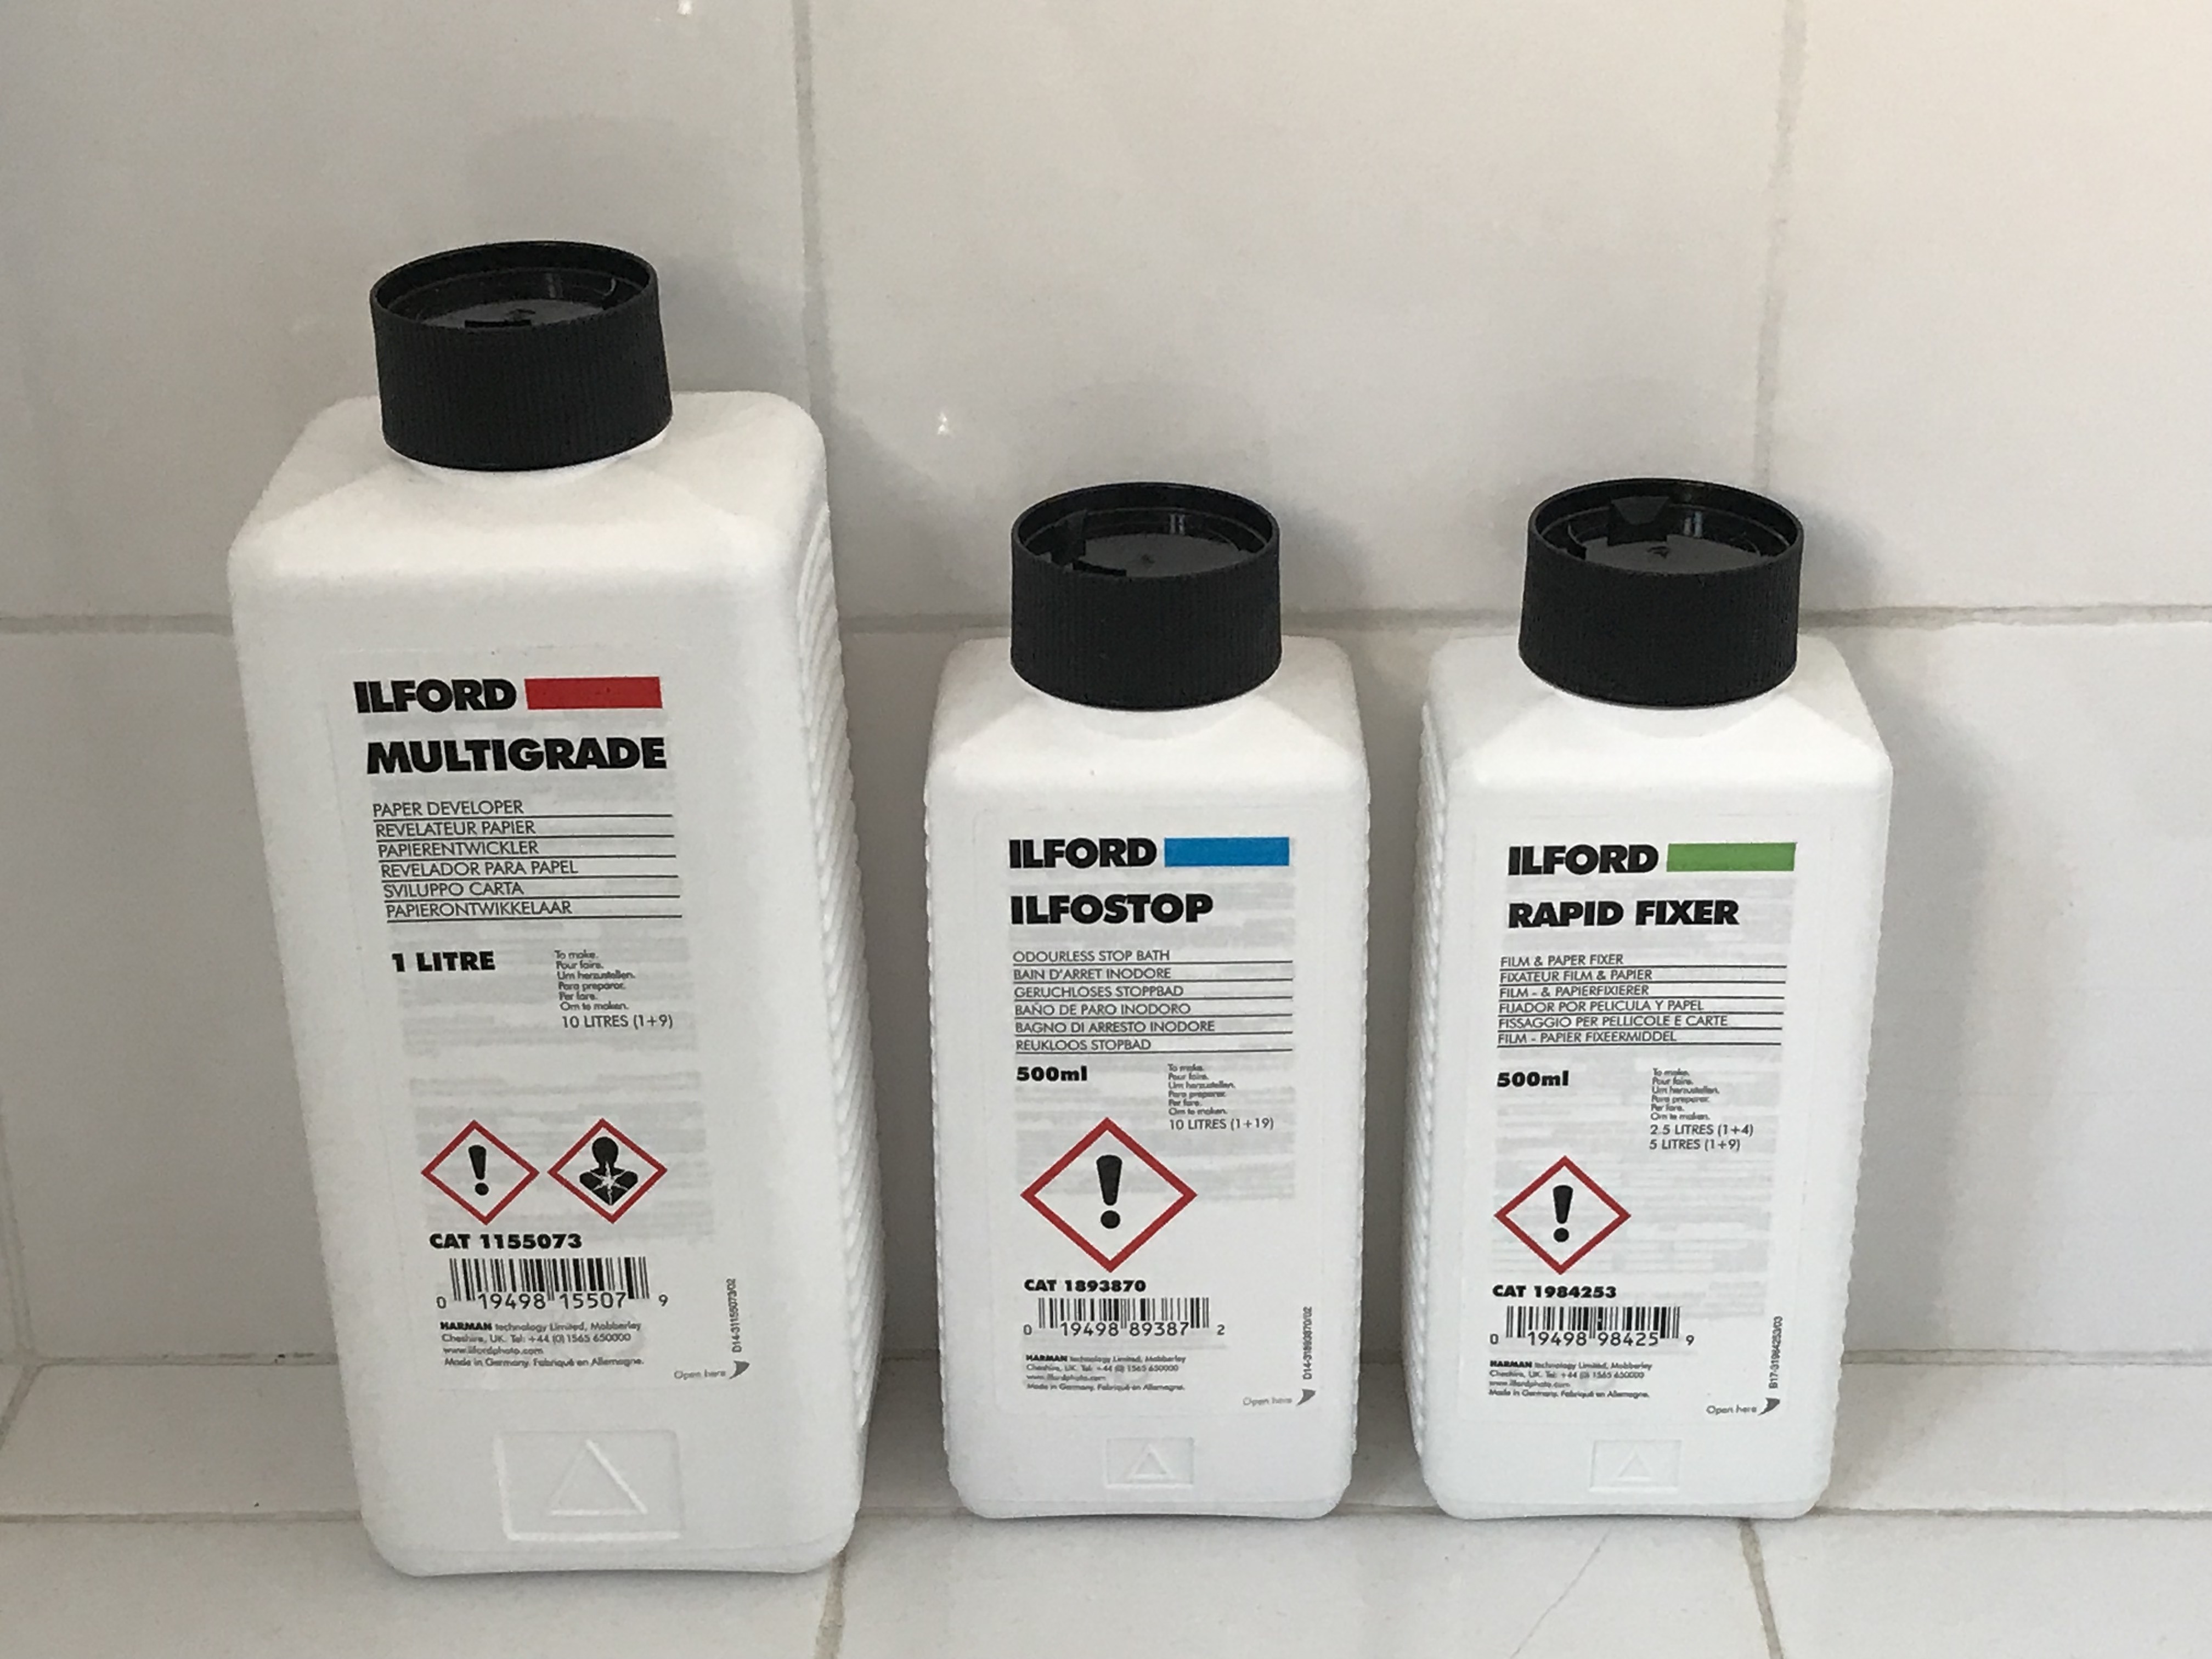
- Paper processing chemicals (Ilford haul – Multigrade developer, Ilfostop and Rapid Fixer. I am sad I no longer reside in the same country as Ilford)
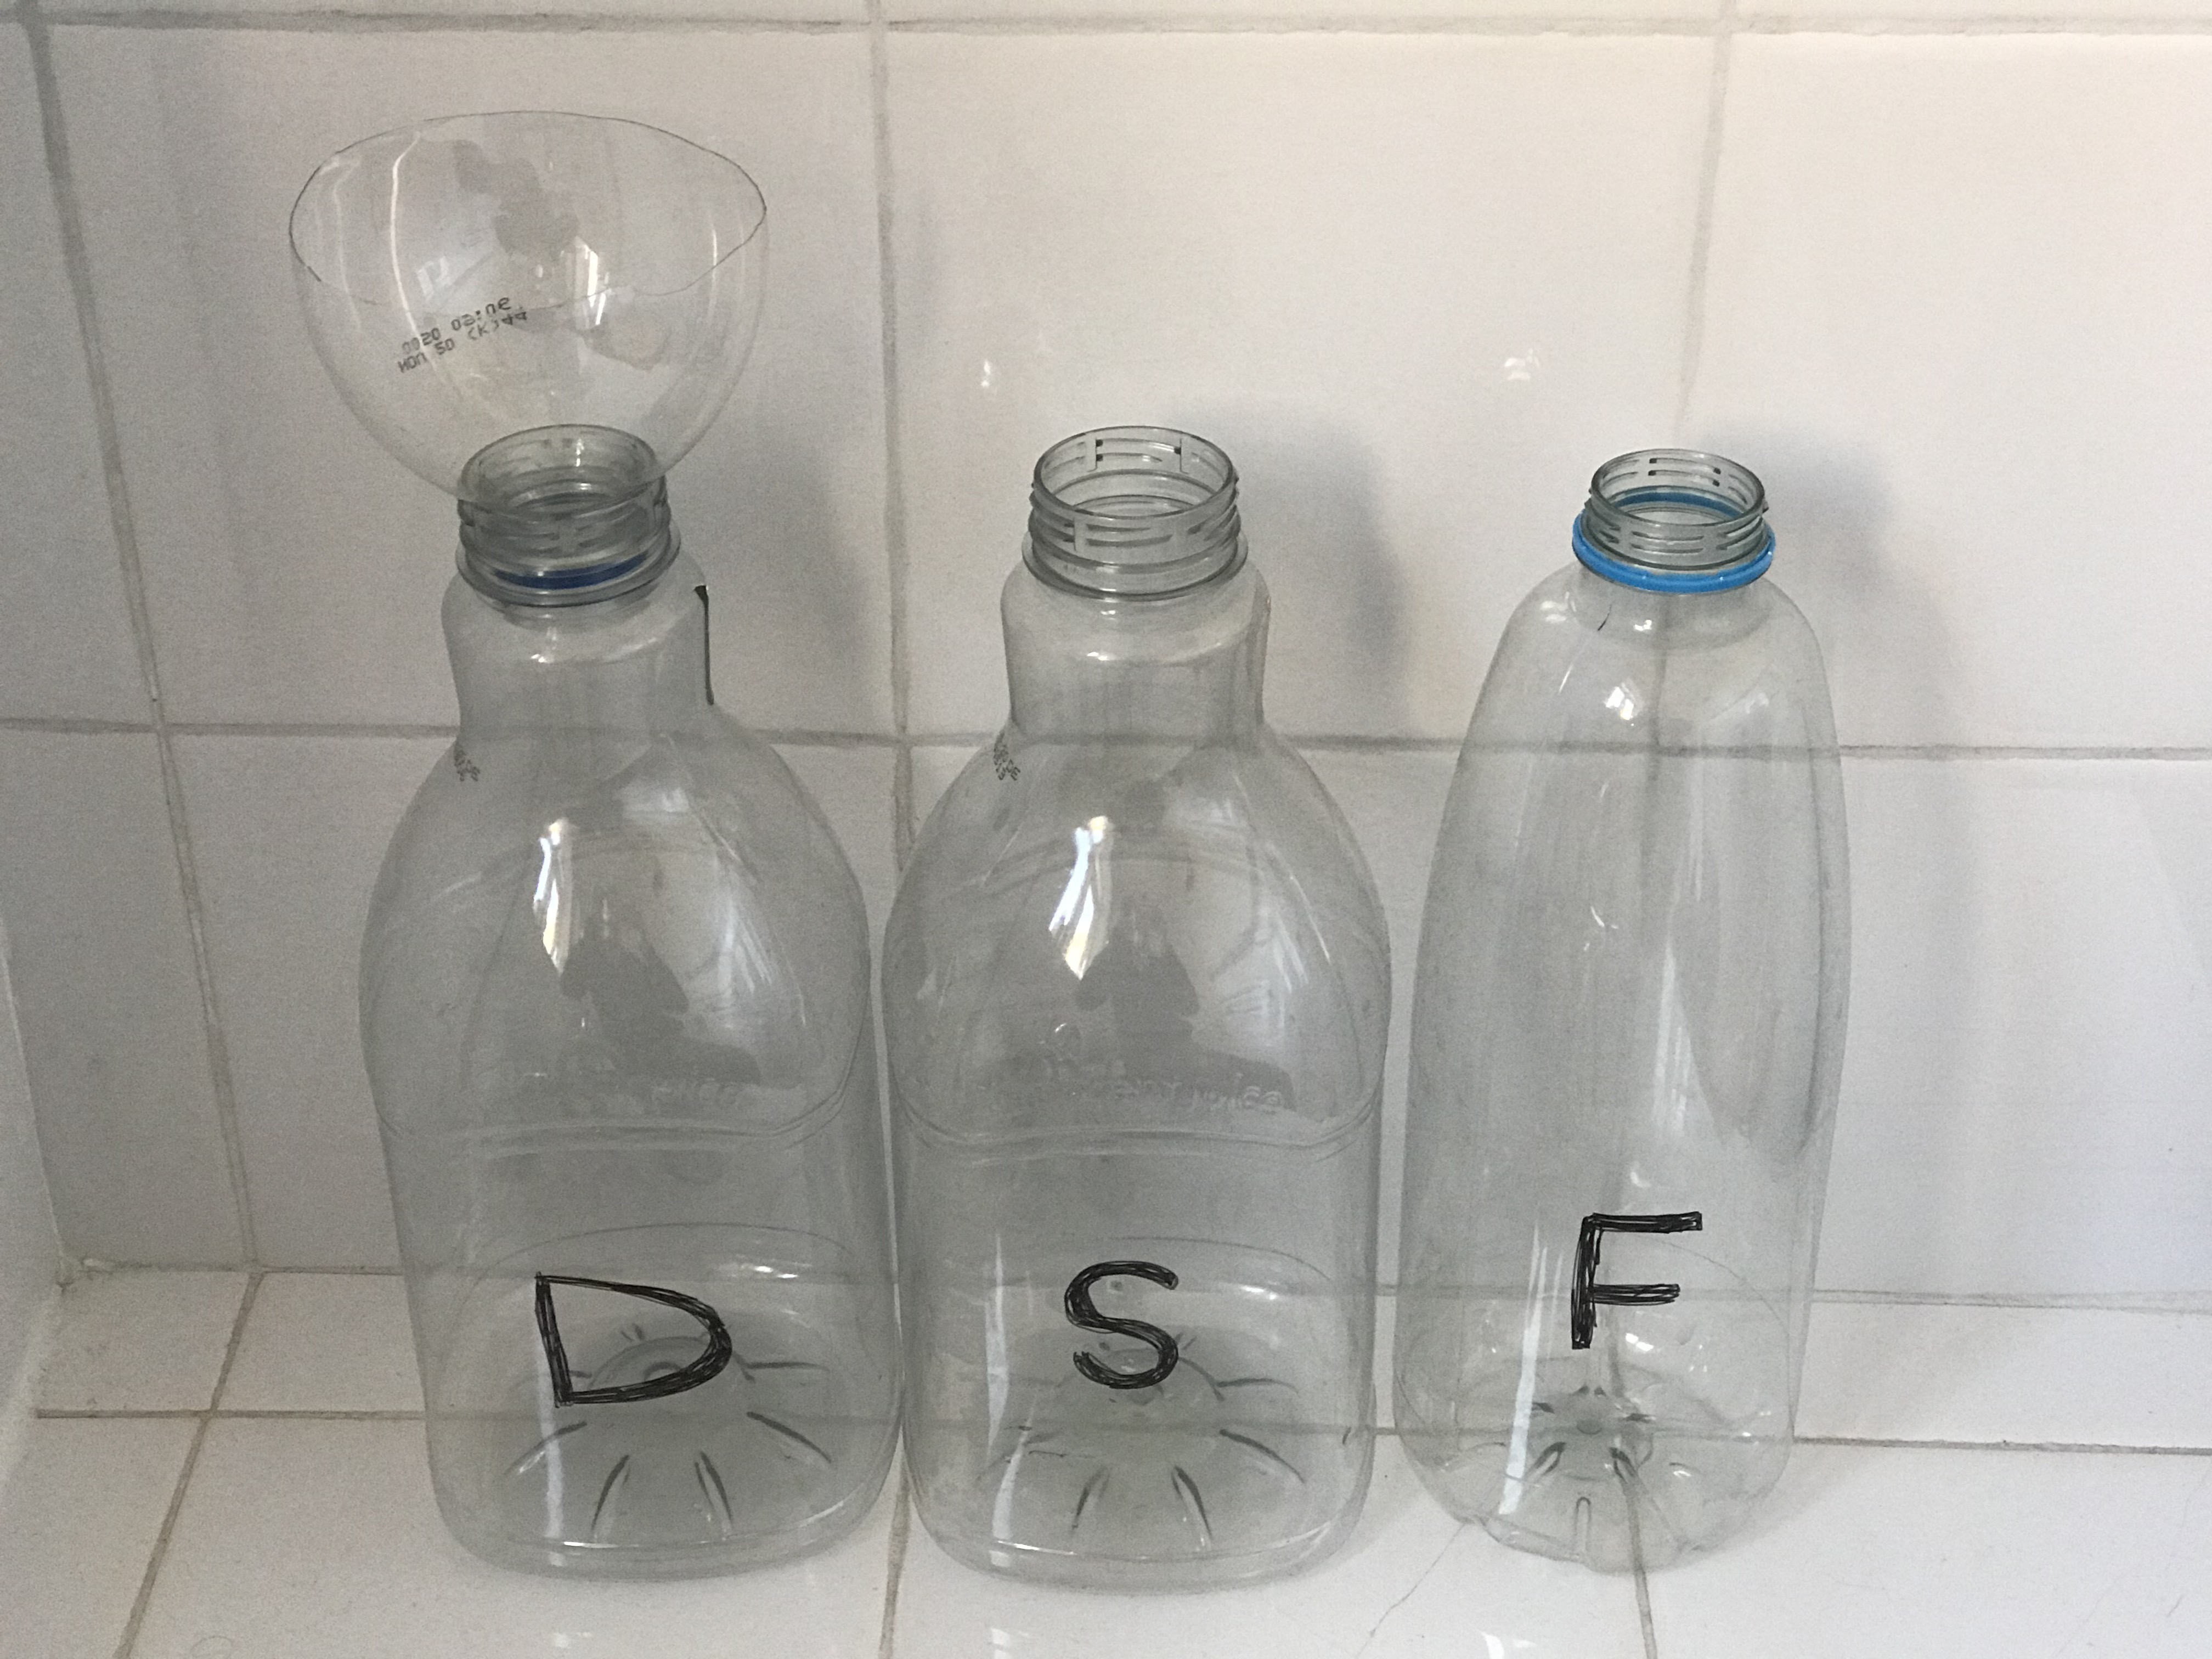
- 3x Plastic bottles to store working solutions of chemicals (I used juice bottles) and a funnel (mine was fashioned from a Tesco lemonade bottle)
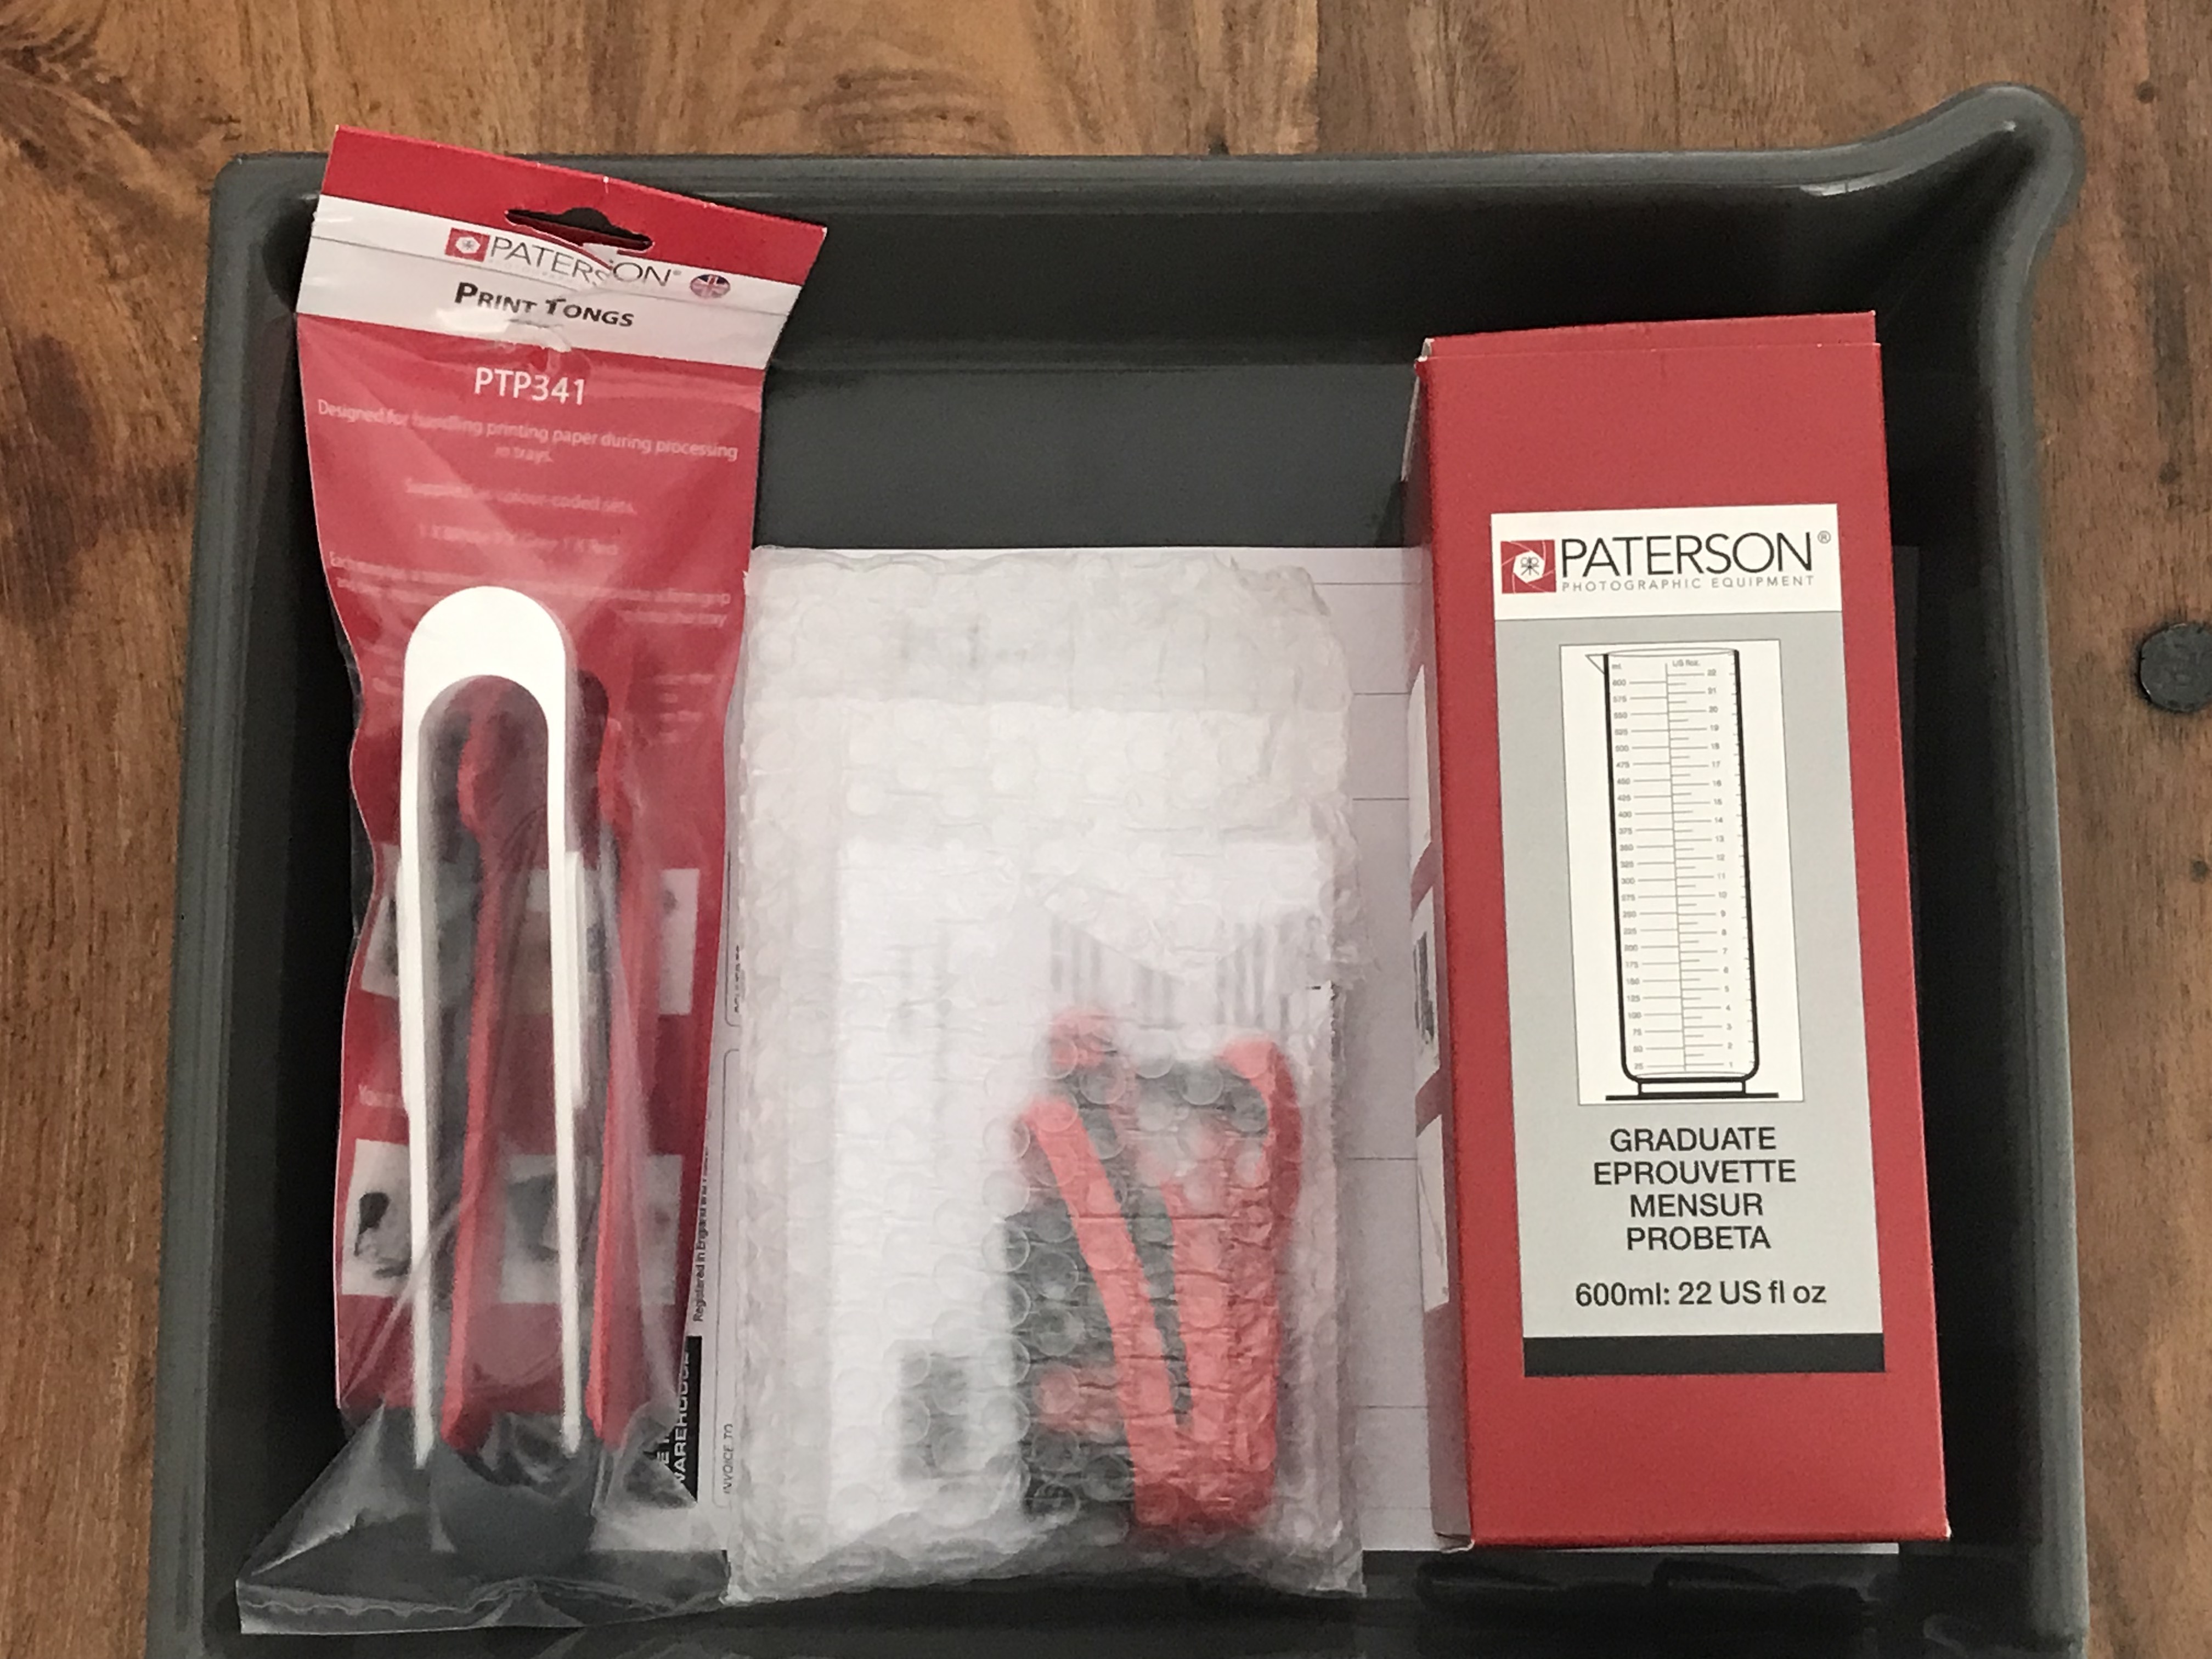
- Large measuring cylinder (600mL – 1L will work)
- 3x Trays for chemicals (I got the 12” x 10” set – as I said, everyone in Britain was setting up a darkroom)
- 3x Tongs (1 per tray – don’t be like me and accidentally order 3 packs of 3!)
My biggest challenges were going to be ensuring the room was completely lightproof and setting up a safelight. Both of these needed to be removable and not cause any damage to the flat. I found lots of information about buying certain kinds of materials and fixing them around door and window frames but I was unable to come up with a method to attach said material without running the risk of damaging the paint. Fortunately for me, I was able to persuade my tall husband to hold our duvet up so it covered the whole door frame. This method is unlikely to provide the completely light-free workspace required when dealing with high sensitivity items like film but it worked perfectly for processing paper.
As for the safe light, I considered investigating the possibility of placing safe bulbs in the light fitting (did not want to buy 3 specialised bulbs due to the design) and also realised a desktop light wouldn’t work either since there are no electrical sockets in bathrooms in the UK (very annoying in this circumstance). And then I found the RH Designs safe torch. A cute little battery powered torch I could hang around my neck – perfect. And I could bring it home with me! Now, what I didn’t realise is this torch is designed to be held ‘on’ and the button is not a click on click off situation. Not a huge problem but it did mean I ended up holding the light in my mouth so I could safely trim the paper down to the correct size.

Placement of trays depends on the space available and of course having the trays up on a counter would be ideal for a good workflow however I was working with very little room to move. I created a small work space for trimming paper, filling plate holders and creating photograms by placing a large Amazon box atop the toilet and I put my trays in the floor of the shower and under the sink.


Honestly, when I processed my first test strip I was amazed that it worked. When that little fuzzy, backwards Salt appeared on the blank paper while I was crouching down, agitating the developing tray, cramp beginning to form in my left calf, I knew it was all worth it. Except my next problem was the huge section of bellows that had come away from the back board on my camera. I had some work to do but I wanted to keep making images in the darkroom, so I did what anyone would do in this situation – photograms.


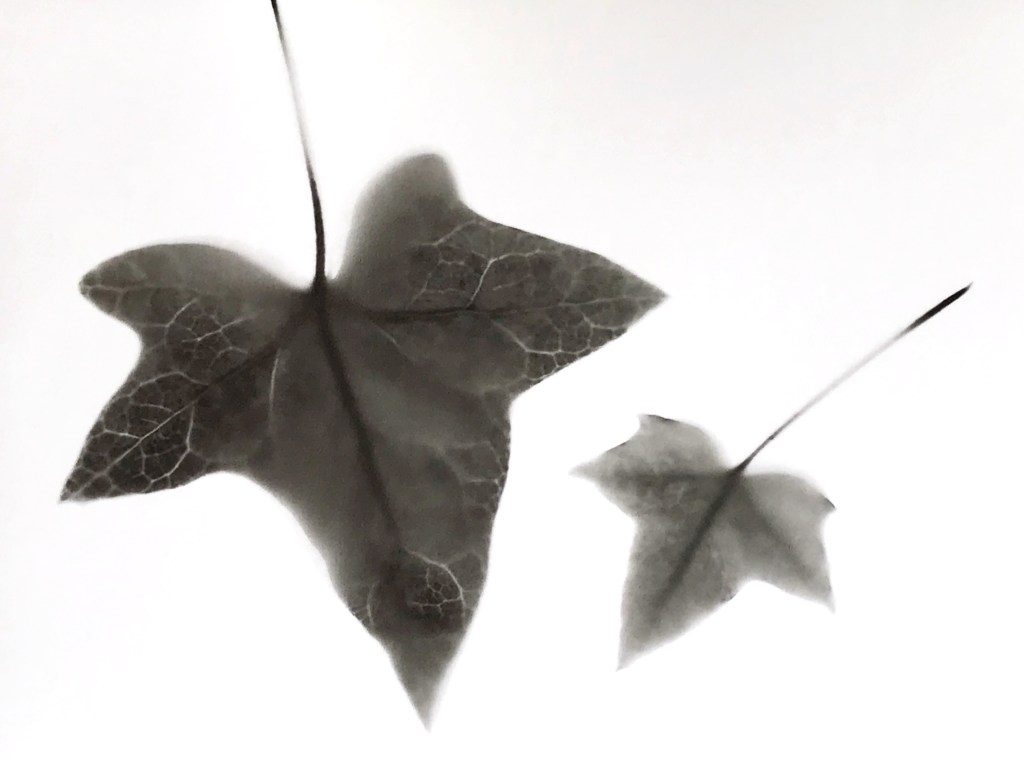
Next time I will talk more about my trial and error when using Harmon Direct Positive Paper for photograms. [Edit – you can now read about making photograms with Harmon Direct Positive Paper here].
Thanks for reading!

One thought on “How to set up a darkroom in your flat”